How to Upload Your Clothes and Try Them On Virtually
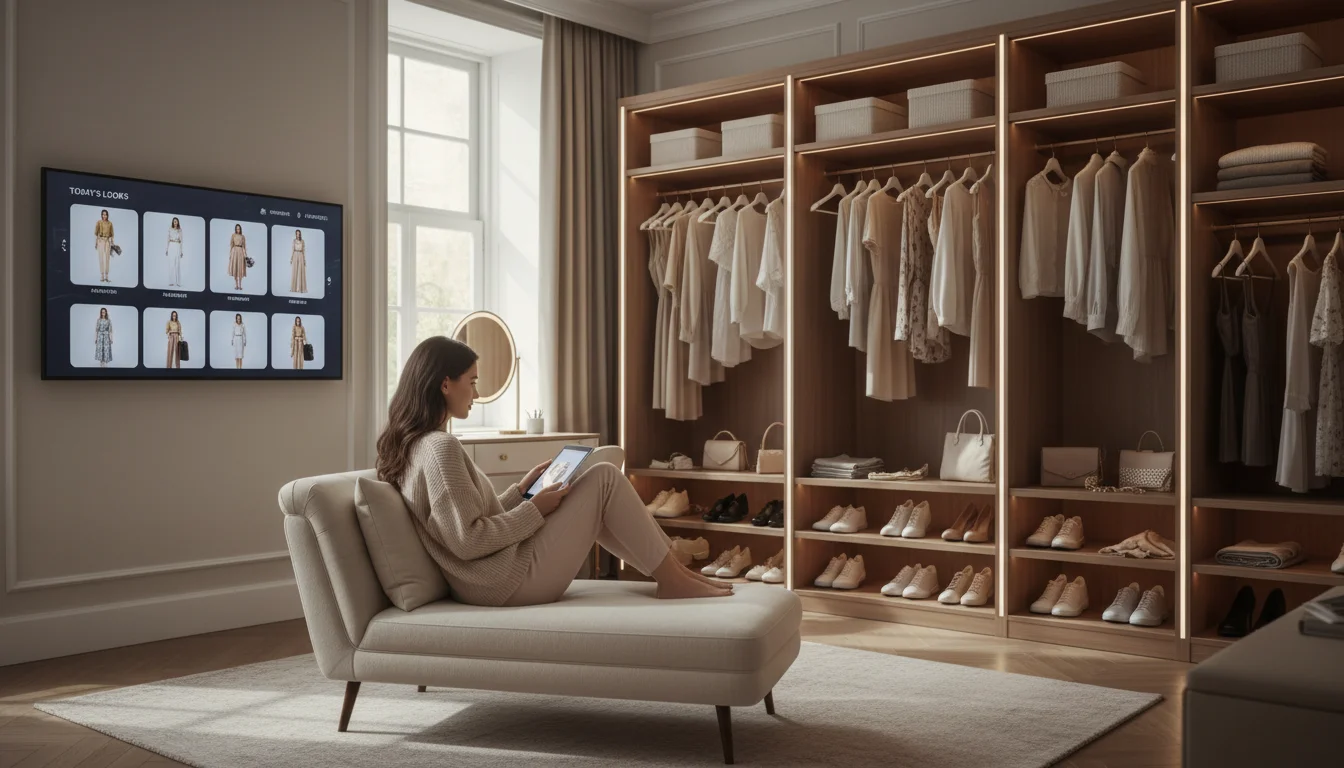
Imagine being able to see yourself wearing any combination of clothes you own - without actually getting dressed. That is exactly what AI virtual try-on makes possible in 2026. You upload your real clothes to a smart wardrobe app, pick a photo of yourself, and the AI generates a photorealistic image of you wearing the outfit in seconds. No more guessing what an outfit will look like. No more trying on ten combinations to find one that works.
This complete tutorial walks you through every step: how to photograph your clothes for the best results, how to upload them to FitInView, how to take the ideal selfie for try-on, how to try on outfits virtually, and how to troubleshoot common issues. Whether you are new to virtual try-on or looking to improve your results, this guide covers everything.
What You Need to Get Started
- A smartphone or computer with a camera (any modern iPhone, Android, iPad, or laptop)
- A full-body photo of yourself - we will cover how to take the ideal one below
- Your clothes - either hanging in the closet, laid flat, or photographed from online stores
- A FitInView account (free plan works - no credit card required)
Step 1: Photograph Your Clothes
The quality of your garment photos directly affects the quality of your virtual try-on results. There are three ways to get your clothes into the app:
Option A: Use the Video Scanner (Fastest)
The fastest way to upload clothes and try them on virtually is with FitInView's wardrobe scanner. Open the scanner, point your phone at your hanging clothes, and slowly pan from left to right. The AI automatically detects each garment, removes the background, identifies the category and colors, and adds it to your digital wardrobe. A full closet rod of 30-40 items takes about two minutes to scan.
Option B: Individual Photos (Best for Folded Items)
For folded items, shoes, and accessories, individual photos work best. Lay the item flat on a bed or light-colored surface, or hang it on a door or hanger. Photograph it from directly above (for flat-lay) or straight on (for hanging). The AI removes the background automatically, so the surface does not need to be perfectly clean - but good contrast between the garment and background helps.
Option C: Paste a Product URL (For Online Shopping)
Want to try on clothes before buying them online? Paste a product URL from any online store - Amazon, Zara, ASOS, H&M, Uniqlo, Nordstrom, or any other retailer. FitInView extracts the garment image from the product page and uses it for virtual try-on. This is one of the most powerful features for reducing online shopping returns.
Photography Tips for Better Garment Images
Better garment photos lead to more realistic try-on results. Here are the key factors:
- Lighting - Natural daylight is ideal. Avoid harsh direct sunlight that creates strong shadows. Bright, even lighting from a window works best.
- Background - A plain, light-colored background (white wall, light bedsheet) helps the AI isolate the garment. Busy backgrounds work but may reduce accuracy.
- Angle - Photograph the garment straight-on, not at an angle. Flat-lay from directly above or hanging shots from eye level produce the best results.
- Wrinkles - Smooth out major wrinkles before photographing. The AI renders the garment as it appears in the photo, so heavy wrinkles will appear in the try-on.
- Full garment visible - Make sure the entire garment is in the frame, including sleeves, hem, and collar. Cropped photos produce cropped try-on results.
Step 2: Upload Your Best Photo
The try-on photo is equally important. This is the photo of you that the AI will use as the base for rendering garments. Here is how to take the ideal try-on photo:
- Full body - The photo should show you from head to at least mid-shin. Full head-to-toe is ideal.
- Natural pose - Stand straight with your arms slightly away from your body. Avoid crossed arms or hands in pockets, which make it harder for the AI to place sleeves and waistlines.
- Good lighting - Even, bright lighting from the front. Avoid strong backlighting or overhead lighting that casts dark shadows on your face and body.
- Simple background - A plain wall, open room, or simple outdoor background. Complex backgrounds with many objects behind you still work but may produce slightly less clean results.
- Fitted clothing - Wear relatively fitted clothes in your base photo. Baggy or oversized clothing makes it harder for the AI to map your body shape accurately.
- High resolution - Use your phone's standard camera mode, not a low-resolution selfie cam. Higher resolution photos give the AI more data to work with.
The app works with a wide range of body types, poses, and backgrounds - these tips are for optimizing quality, not requirements. Even a casual photo produces usable results.
Step 3: Try On Your Clothes Virtually
With your wardrobe uploaded and your photo ready, select any garment from your digital closet and tap Try On. The AI generates a photorealistic image of you wearing that exact item. You choose from three quality levels:
- Quick (10 credits, 5-8 seconds) - Good for browsing and rapid comparison
- HD (20 credits, 15-25 seconds) - Clear detail for making decisions
- Ultra 4K (30 credits, about 60 seconds) - Fabric texture and pattern detail for important purchases
The result looks like a real photograph, not a cartoon overlay or crude Photoshop composite. The AI matches lighting conditions, casts appropriate shadows, conforms the garment to your body shape, and simulates fabric drape. The more you zoom in (especially in HD and Ultra 4K), the more impressed you will be by the detail.
Step 4: Mix and Match Complete Outfits
Individual garment try-on is useful, but the real magic happens when you combine multiple items. Use the Outfit Builder to drag items onto a flat-lay canvas - top, bottom, shoes, layer, accessories - and see the combination visualized as a styled flat-lay. Then try on the entire outfit together with one tap.
You can also ask Style Twin - the AI chat stylist - to suggest complete outfits from your uploaded wardrobe. Every suggestion comes with a try-on button. This workflow goes from 'I have no idea what to wear' to 'I am seeing myself in a complete, styled outfit' in under a minute.
Troubleshooting Common Issues
Virtual try-on technology is impressive but not perfect. Here are solutions to the most common issues users encounter:
The garment looks distorted or misaligned
This usually happens when the AI has trouble mapping your body pose. Solution: use a photo where you are standing straight-on with a clear silhouette. Avoid photos where your body is partially obscured by objects, other people, or extreme poses.
Colors look different from the real garment
Color accuracy depends on both the garment photo and your body photo. If the garment was photographed in warm (yellowish) lighting, the try-on will inherit that warmth. Solution: re-photograph the garment in neutral daylight, or use the retailer's product photo which is usually color-corrected.
The try-on looks unrealistic or cartoon-like
This can happen in Quick mode where the lower resolution limits detail. Solution: try HD or Ultra 4K mode for the same garment. The higher resolution rendering produces significantly more realistic results, especially for textured fabrics and detailed patterns.
Accessories or shoes are not showing
Virtual try-on focuses on the main garment. Accessories, shoes, and small items are handled through the Outfit Builder's flat-lay canvas rather than the photorealistic try-on. Build the full outfit in the builder and try on the main clothing items together.
Upload keeps failing or times out
Large image files (over 10 MB) can cause slow uploads on mobile data. Solution: use Wi-Fi for uploading, or reduce your camera resolution to standard mode before photographing garments.
Scanner missed some items during video scan
Items that are tightly packed or very similar in color to neighboring garments can get missed. Solution: pull the missed items forward on the rod to create a gap and re-scan that section, or add missed items individually using single photo capture.
Why Upload Your Real Wardrobe Instead of Just Shopping?
The real power of virtual try-on comes from combining it with your actual clothes. Most people think of virtual try-on only for online shopping - seeing how a new jacket looks before buying. But uploading your existing wardrobe unlocks a far more valuable use case: seeing how everything you already own works together.
Plan tomorrow's outfit tonight by trying it on virtually. See how a new purchase would look with three different pairs of pants you already own. Discover that the blue blouse you never wear actually looks amazing with those grey trousers. A smart wardrobe app with virtual try-on turns your entire closet into a virtual fitting room you can access anywhere, anytime - from your couch, your office, or while traveling.
Related Posts
- How to Digitize Your Entire Wardrobe in Minutes - The fastest way to upload all your clothes
- Ultra 4K Virtual Try-On: See Every Stitch - Deep dive into the highest quality tier
- Outfit Builder: Create Perfect Outfits From Your Real Clothes - Building and trying on complete outfits